Traeger Chicken Recipes: Juicy, Tender, and Irresistible
Remember that feeling? The sun is warm on your skin. The smell of smoke hangs sweetly in the air. You’re gathered with friends and family, full of anticipation. This is what grilling is all about. It’s more than just cooking; it’s about creating moments that stick with you.
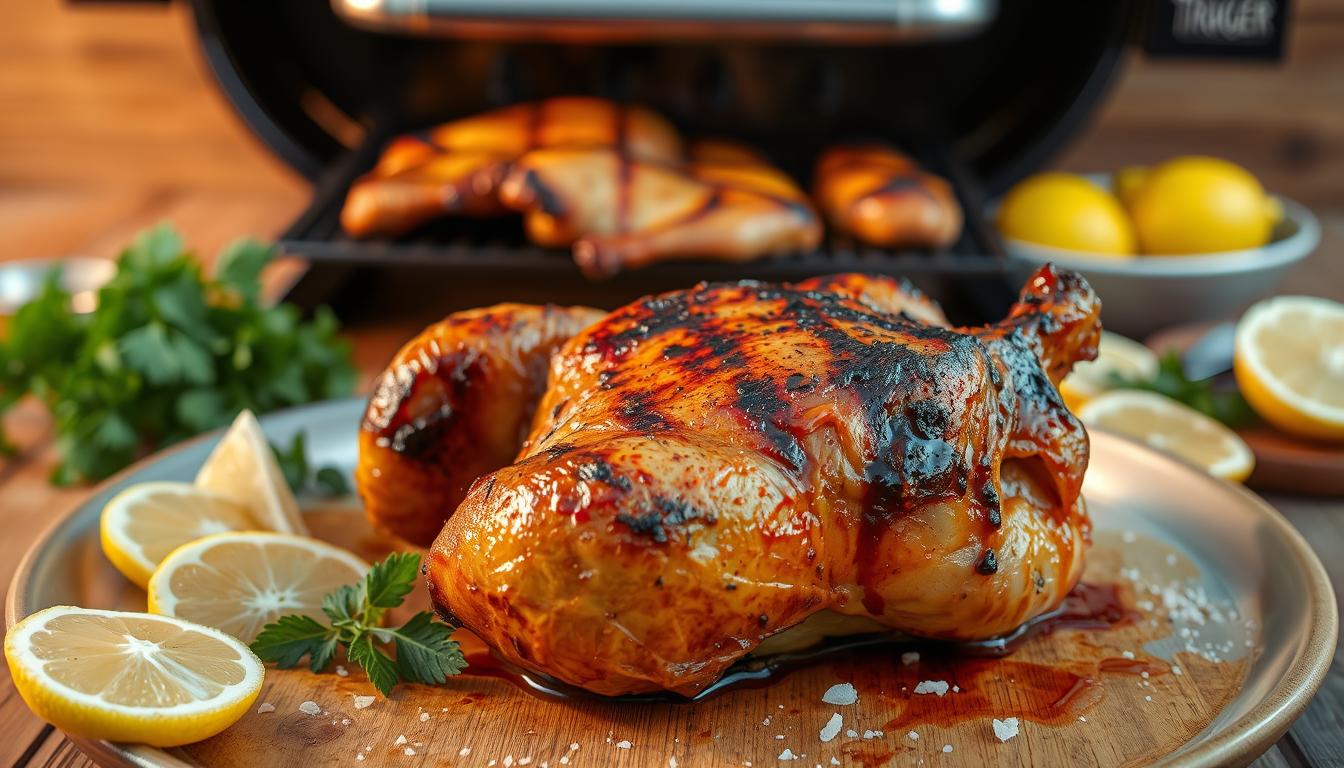
Now, imagine serving up the most incredible bird they’ve ever tasted. Picture meat so juicy and tender it practically falls off the bone. That’s the magic we’re unlocking together. This isn’t about complicated techniques or guesswork.
We’re going to walk through every step. You’ll learn how to choose the right wood pellets for amazing flavor. We’ll cover temperature control to ensure perfect results every single time. These methods work for any cut, from quick weeknight breasts to a show-stopping whole bird.
Whether you just got your grill or you’re a seasoned pro, this guide will build your confidence. Get ready to make meals that will have everyone asking for your secrets. Let’s fire it up.
Introduction to Traeger Chicken Recipes
When you master the art of pellet grill cooking, every meal becomes an event. The combination of convection heat and natural wood smoke creates exceptional results that transform ordinary ingredients into extraordinary dishes.
Overview of Juicy, Tender Chicken
Proper temperature control is the foundation of success. Avoiding overcooking ensures your poultry stays moist and flavorful. Different cuts respond uniquely to heat, with dark meat being more forgiving than leaner options.
The versatility of pellet grills allows for various cooking approaches. Each method produces distinct textures and taste profiles. Understanding these options helps you achieve restaurant-quality results at home.
| Temperature | Cooking Method | Best For | Resulting Texture |
|---|---|---|---|
| 225°F | Low & Slow Smoking | Whole Birds | Fall-off-the-bone tender |
| 350°F | Standard Grilling | Individual Pieces | Juicy with crisp skin |
| 500°F | High-Heat Searing | Skin-side finish | Crispy exterior, moist interior |
Your success depends on quality ingredients, proper seasoning, and accurate monitoring. Allowing adequate resting time after cooking locks in moisture. These principles apply whether you’re preparing a simple weeknight meal or an impressive weekend feast.
Selecting the Perfect Traeger Grill and Wood Pellets
Your equipment choices lay the foundation for incredible smoked poultry. The right setup ensures consistent temperature control and optimal smoke infusion. This section helps you make informed decisions about your smoking gear.
Choosing Your Grill
Consider your cooking needs and available space when selecting a pellet grill. Models like the Texas Elite 34 offer excellent capacity for family meals. Features like WiFi connectivity and large hoppers enhance convenience.
Your investment should balance performance with practical considerations. Temperature range and control accuracy are crucial for perfect results. A reliable traeger grill maintains steady heat throughout long cooking sessions.
Best Wood Pellet Options
You don’t need expensive pellets for great flavor. The Traeger Signature Blend provides excellent value for everyday use. Experiment with different wood types to discover your preferences.
Popular options include:
- Hickory and mesquite for bold, smoky notes
- Apple and cherry for milder, sweeter profiles
- Pecan for balanced flavor that complements poultry well
Store your pellets in dry conditions to maintain quality. Proper storage ensures consistent combustion and smoke production. Mixing pellet types can create unique flavor combinations for your dishes.
Mastering the Basics of Smoking Chicken

Your success with smoked dishes depends on mastering two critical elements: smoke absorption and internal temperature. These fundamentals separate average results from exceptional ones.
Understanding Smoke Flavors
Lower temperatures create deeper smoke penetration. Cooking between 225°F and 250°F for 90-120 minutes allows maximum flavor infusion.
High-heat methods around 500°F produce minimal smoke character. The brief cooking time prevents adequate smoke absorption into the meat fibers.
Importance of Internal Temperature
Monitoring internal temperature ensures both safety and quality. Different cuts require specific temperature targets for optimal texture.
Breasts reach doneness at 165°F, but you can remove them at 162°F. Carryover cooking will complete the process while preserving moisture.
Thighs and legs need higher temperatures around 185°F. This breaks down connective tissues while maintaining juiciness due to their fat content.
Essential Traeger Chicken Rub and Seasoning Techniques
Your seasoning strategy makes all the difference between good results and exceptional flavor. The right blend enhances natural tastes while creating that perfect crust.
Simple Chicken Rub Recipe
Create an excellent all-purpose blend with basic pantry ingredients. Combine ¼ cup kosher salt, 2 tablespoons black pepper, and 2 tablespoons brown sugar.
Add 1 tablespoon each of garlic powder, onion powder, and paprika. Mix thoroughly in a small bowl for consistent distribution.
Store your dry rub in an airtight container for up to 3 months. This preserves freshness and makes future meals convenient.
Before applying any seasoning, pat your poultry completely dry. Drizzle each side with a small amount of olive oil to help the rub adhere.
Let the seasoned meat rest in the refrigerator for 15-30 minutes. This allows the salt to penetrate for better moisture retention.
Optional Add-Ins for Enhanced Flavor
Customize your base recipe with optional ingredients for different flavor profiles. Consider mustard powder for tang or chili powder for heat.
Other great additions include dried parsley, ginger, cumin, or oregano. Each brings unique characteristics to your final dish.
For a spicier alternative, try adding cayenne pepper to the mix. This creates bolder, heat-forward seasoning perfect for those who enjoy extra kick.
Marination and Preparation Methods for Chicken
The secret to unforgettable flavor begins long before you light the grill. Proper preparation transforms your main ingredient into something extraordinary. Timing and technique work together to create moist, tender results.
Marinating Times and Techniques
Different cuts require specific marination hours for optimal results. Whole birds benefit from 4 to 24 hours of preparation time. This extended period allows for effective dry brining that locks moisture into the meat.
Boneless, skinless thighs need 4 to 12 hours in the marinade. Breasts require just 2 to 3 hours for proper tenderizing. Acidic marinades containing citrus should never exceed 12 hours to prevent mushy texture.
Seasoning and Brining Best Practices
Dry brining helps retain natural juices in the meat. Pat your chicken completely dry before applying any seasoning. This creates the perfect surface for flavor absorption.
Try this flavorful Tex-Mex marinade for your next chicken preparation:
- 1/3 cup fresh orange juice
- 1/4 cup lime juice
- 4 peeled garlic cloves
- Chipotle peppers in adobo sauce
- Fresh cilantro and olive oil
Blend all ingredients and marinate for at least 2 hours. Overnight marination delivers the most intense flavor penetration.
Step-by-Step Guide to Cooking Traeger Chicken

The journey from preparation to plate requires careful attention to each cooking phase. Following a systematic approach ensures your poultry turns out perfectly every time. This guide walks you through the essential steps.
Setting Up Your Traeger
Begin by heating your equipment on the “smoke” setting with the lid open for 5 minutes. This establishes proper combustion and smoke production. If your model has “super smoke” feature, use it for enhanced flavor.
After the initial smoke phase, turn the temperature to 350°F and close the lid. Allow 15 minutes for the grill to preheat completely. This ensures consistent cooking from start to finish.
Cooking Process and Temperature Monitoring
Place your seasoned poultry spiced side down on the grates. Liberally coat the exposed underside with remaining rub before closing the lid. Cook for 12-13 minutes on the first side.
Flip and continue cooking for another 10-12 minutes. Use a reliable meat thermometer to check internal temperature. The thickest part should reach 165-170°F for optimal doneness.
| Cooking Method | Target Temperature | Approximate Time | Best For |
|---|---|---|---|
| Standard Smoking | 350°F | 22-25 minutes | Even cooking |
| High-Heat Grilling | 500°F | 20-30 minutes | Crispy skin |
| Low & Slow | 225°F | 90-120 minutes | Maximum smoke flavor |
Keep the grill lid closed throughout the process. This maintains consistent heat and maximizes smoke penetration. Following these steps creates exceptional results for any recipe.
Exploring Different Cuts: Breasts, Thighs, and Wings
Understanding how different cuts behave on the grill transforms your cooking results. Each piece requires specific handling to achieve optimal texture and flavor.
Cooking Chicken Breasts to Perfection
Boneless chicken breasts benefit greatly from proper preparation. Season them with a rub featuring citrus and black pepper notes.
For maximum flavor, marinate overnight or butterfly through the center. This technique increases surface area for seasoning penetration.
Smoking breasts at 250°F creates tender, juicy results without dryness. The lower temperature protects the lean meat from overcooking.
Tips for Chicken Thighs and Wings
Boneless skinless thighs are economical and cook quickly. Grill them at 375-400°F for about 15 minutes.
Marinate chicken thighs for 4-12 hours before cooking. Their higher fat content carries seasonings beautifully.
For crispy wings, add aluminum-free baking soda to your seasoning. Grill at 375°F for 35 minutes to render fat and crisp skin.
Bone-in thighs excel with low-and-slow smoking. Boneless options work wonderfully with bold sauces like BBQ.
Achieving Juicy, Tender, and Flavorful Chicken
What happens after you remove your poultry from the heat makes all the difference. Many cooks focus solely on cooking temperatures but neglect the final critical phase.
Resting and Slicing for Moisture Retention
You must allow your cooked poultry to rest properly. During cooking, muscle fibers contract and push juices toward the center. A proper chicken rest period lets these fibers relax.
This allows the flavorful juices to redistribute evenly throughout the meat. When you skip this step, cutting immediately causes precious moisture to escape onto your cutting board.
Remove your cooked poultry from the grill once it reaches target temperature. Place it on a cutting board and cover loosely with foil. This retains heat while allowing steam to escape.
Let your chicken rest for 3-5 minutes before slicing. This timeframe stabilizes juices without excessive cooling. Remember carryover cooking continues during this rest period.
You can safely remove breasts at 162°F knowing they’ll reach 165°F while resting. This technique prevents overcooking and ensures flavorful chicken every time.
Your patience during this final step directly impacts the eating experience. Properly rested meat will be noticeably more succulent and tender when served.
Smoke and Grill: Time and Temperature Management

Achieving perfectly cooked poultry requires understanding the relationship between heat and duration. Your cooking time depends entirely on the temperature setting you choose.
You must use a reliable meat thermometer inserted into the thickest part for accurate monitoring. This ensures food safety and prevents overcooking.
Cooking Time Guidelines
For boneless breasts, pull them at 162°F. Carryover cooking brings them to the safe 165°F internal temperature. Thighs and legs need 185°F to break down connective tissues.
At 500°F, smaller portions take 20-25 minutes. Larger cuts require 25-30 minutes. Smoking at 225-250°F needs 90-120 minutes for proper cooking.
Wings grill perfectly at 375°F for 35 minutes. Always check the thickest part of each piece with your thermometer.
Low-and-slow cooking maximizes smoke flavor. Increase the temperature for the final 10 minutes to crisp the skin. Your thermometer is your most important tool for perfect results every time.
Creative Ways to Repurpose Leftover Chicken
Your delicious smoked poultry doesn’t have to end with one meal. With a little planning, you can create an entire week of quick, flavorful dinners. This approach saves you time and reduces food waste.
Consider cooking a larger batch specifically for future meals. This strategy gives you ready-to-use protein for busy nights.
Innovative Recipe Ideas
Proper storage is your first step. Shred, slice, or dice the meat based on your planned recipes. Place it in an airtight container in the refrigerator.
It will stay fresh for up to seven days. Using versatile base seasonings allows for maximum flexibility. You can create a completely different dish each night.
Smoked meat adds incredible depth to a fresh salad. It also works beautifully in pasta or fried rice. The possibilities are nearly endless.
| Leftover Type | Repurposing Idea | Key Ingredient/Technique |
|---|---|---|
| Neutral Seasoning | Asian Stir-Fry | Soy sauce, ginger, vegetables |
| BBQ Seasoning | Pulled Chicken Sandwich | Extra BBQ sauce, coleslaw |
| Tex-Mex Marinade | Quick Quesadillas | Cheese, tortillas, served with salsa |
Dice everything before storing it in your container. This makes it easy to grab and add to any recipe. You can quickly assemble a hearty salad or a comforting pasta dish.
Advanced Smoking Techniques and Tips
Advanced smoking methods open up new possibilities for achieving restaurant-quality results at home. These techniques build upon the fundamentals to create exceptional texture and flavor.
Beer Can Chicken Method
The beer can technique introduces moisture from the inside out while creating a beautiful crust. Place your seasoned whole bird on a “chicken throne” filled with beer.
Cook at 375°F until the breast reaches 165°F internally. This method delivers incredibly moist, flavorful results with impressive presentation.
Experimenting with Alternate Marinades
Diverse marinade profiles keep your grilled chicken repertoire exciting. Try Balsamic Soy and Brown Sugar for Asian fusion or Honey Harissa for Middle Eastern heat.
Greek style with lemon and oregano offers Mediterranean flair. Spicy Jerk brings Caribbean boldness to your smoked chicken.
Understanding heat zones helps manage cooking. Food near the drip pan edge receives more direct heat than center-positioned items. The higher fat content in thighs makes them forgiving for aggressive flavors and longer cooking times.
Conclusion
Your journey toward mastering wood-fired poultry is now well underway. You’ve gained the essential knowledge to create exceptional meals on your pellet grill.
From selecting equipment to monitoring internal temperatures, you understand the critical steps. Each cut requires specific attention, whether preparing lean breasts or forgiving dark meat.
Remember the core principles: proper seasoning, accurate timing in minutes, and adequate resting. These techniques ensure juicy, flavorful results every time.
Use this foundation to explore new flavor profiles and cooking methods. Your confidence will grow with each successful dish you create.
Pair your main course with complementary sides for balanced meals. Most importantly, enjoy the process of creating memorable dining experiences.